When it comes to recording the screen of your computer, you have tons of apps to choose from. There are a number of apps that help you easily record the screen of your computer. It is very useful when you want to create video tutorials or if you want to show something you have got on your screen to your friend.
One of the most easiest ways to record the screen of your computer is to use the QuickTime app. Although the app is more of a media player, it does let you record your computer’s screen and save it as a video file.
In the following guide, you are going to learn how you can record your screen using the QuickTime app on Windows and Mac.
Part 1: Recording Your Screen using QuickTime on Mac
1. Open the QuickTime app by clicking on Launchpad in your Dock and searching for and clicking on QuickTime Player. The app will launch.
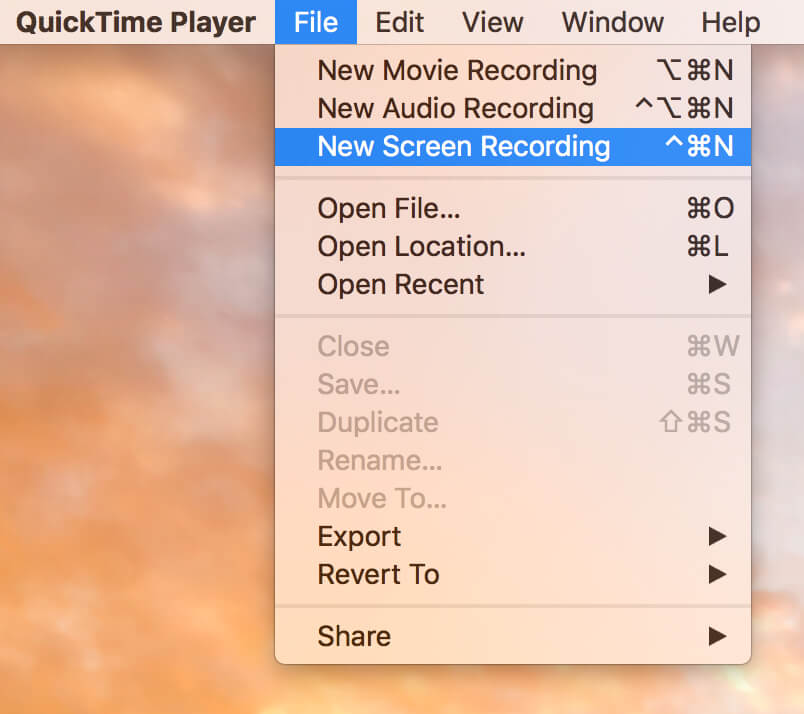
2. When the app launches, click on the File menu at the top and then select the option that says New Screen Recording. It will let you create a new recording of your screen.
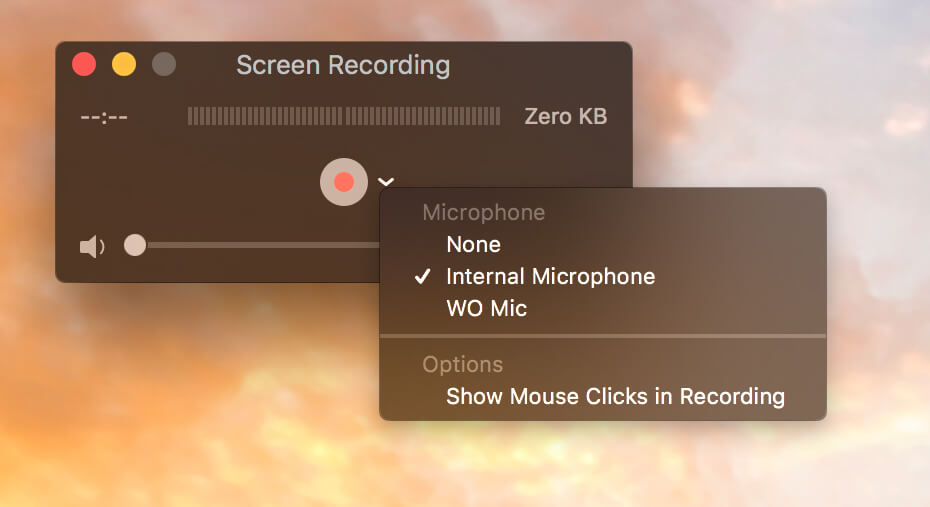
3. The new screen recording panel will come up. Before you begin to record, you will want to change the source of the audio if that has changed in the app. To do that, click on the little arrow next to the record button and then select the source of the audio for your screen recording.
4. Once that’s done, click on the red button in the panel to start recording your screen.
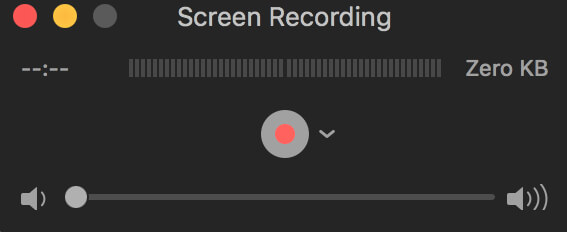
When you’re done, click on the stop recording button to stop recording your screen. Then, you can save the recorded file on your computer.
Part 2: Recording Your Screen on a Windows 10/8/7 PC
The issue with QuickTime Player is that the version of the app supporting screen recording is not compatible with Windows. This means, you can’t use QuickTime to create screen recordings on your Windows PC.
However, all hope is not lost. What you can do instead is you can record your screen using another screen recorder and then convert the recorded video file to the QuickTime format with Video Converter Genius. That will make it look like the recording was done using the QuickTime app.
Here’s how to do that:
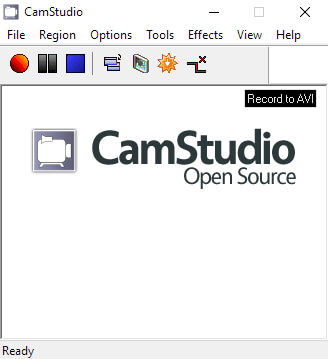
1. Download and install a free screen recording app on your Windows PC. I would highly recommend you to use CamStudio it has no limit for recording and also it is free and open source.
2. Open the screen recording app, record the video, and save the file to somewhere on your PC.
3. Download and install Video Converter Genius on your PC. Open the app and click on the button that says Add to add your screen video file to the app.
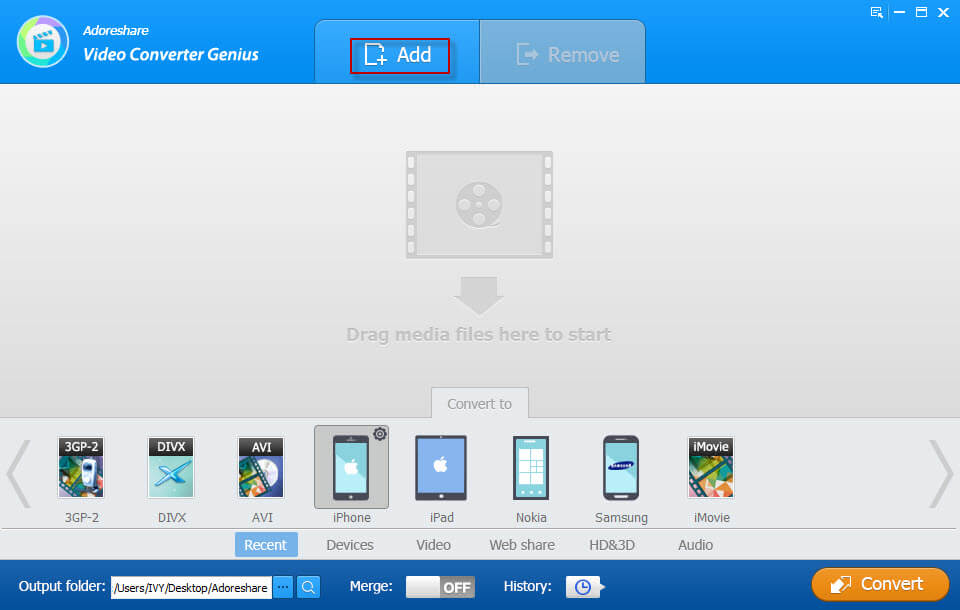
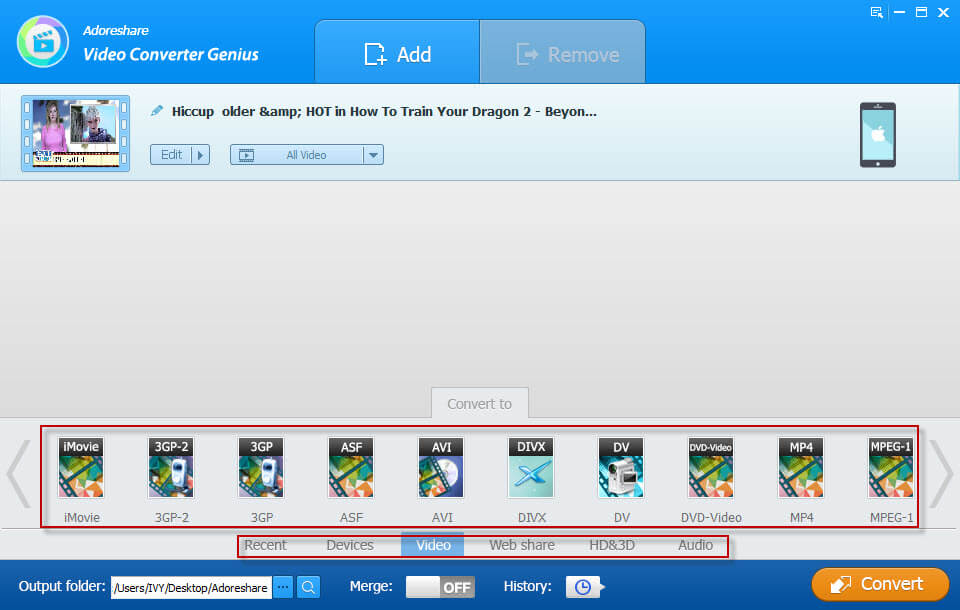
4. From the Convert to section, choose the format you would like for your video to have after conversion. Here, you need to choose the format that is supported by QuickTime Player. Then, click on the button that says Convert to begin converting your video file.
Finally, you will have your video file converted to the QuickTime format and it is now just as good as a screen recording done using the QuickTime app.
